Looking to style-up your bookshelves or desk? One of the easiest ways to do this is with beautiful book covers that will transform your beloved books into works of art. There are a few options ranging from luxury to free (yes FREE!). It all depends on your aesthetic and your budget. This post will focus on HARRY POTTER book covers because–HARRY freaking POTTER–but you are only limited by your imagination.
First Step: Pick a Design
You’ll want to start by picking your design. By far, HARRY POTTER is the easiest to find but with a little search on Google and Etsy there are lots of other popular book series covers up for grabs.
Book covers range anywhere from free to hundreds of dollars depending what you want to spend. You can search Google or Etsy and find a design within your budget OR you can always download the free printable below and use it as a template to create your own book covers.
If you can afford to go lux, one of the most stunning options on the market are the book covers offered by Juniper Books. The HARRY POTTER sets (ranging $75-$350) are to die for but they also offer tons of other favorites (ANNE OF GREEN GABLES, PERCY JACKSON, THE LORD OF THE RINGS, NARNIA, HUNGER GAMES, OUTLANDER, GAME OF THRONES, just to name a few) and even custom designs.
View this post on Instagram
If you’re tight on a budget but good on time, a great alternative is to make your own book covers. A quick search on Etsy or Google for “free printable book covers” will bring up tons of options. All you have to do is pick your favorite.
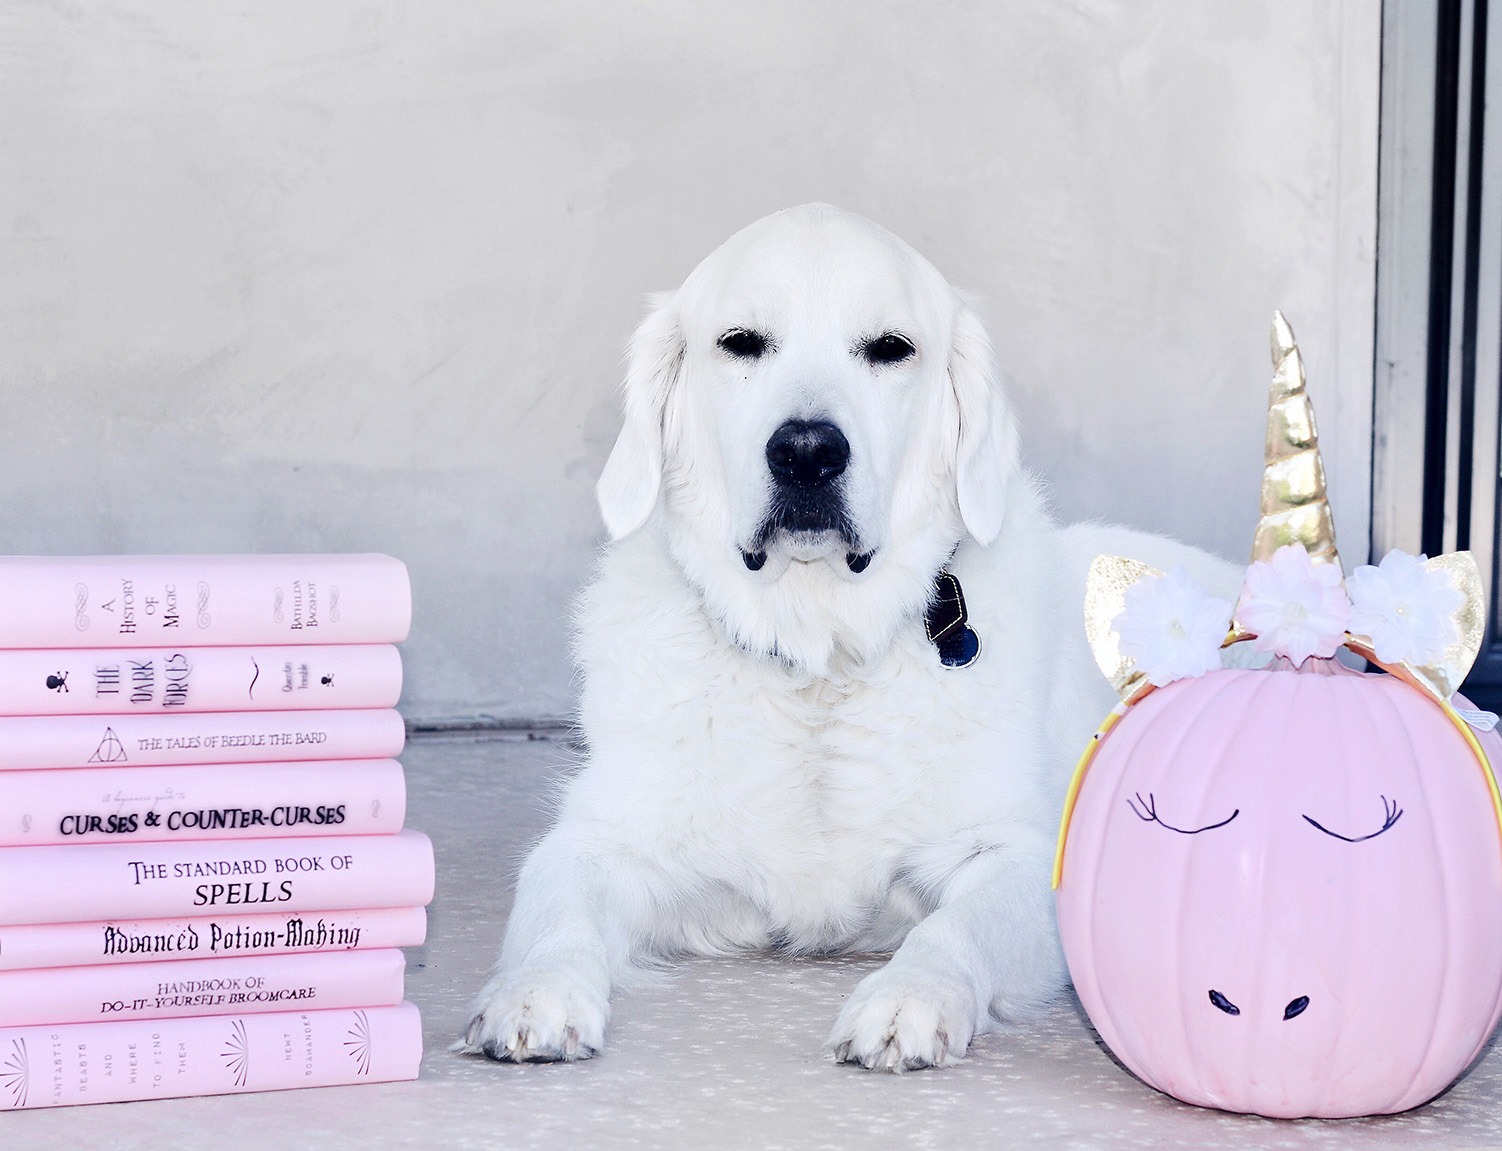
The HARRY POTTER covers for this post came from Paper Trail Design and are gorgeous (and free!).
Second Step: Choose Your Paper
If you decide to create your own book covers (either buying printables or downloading free printables), you will want to choose your paper. You can choose from color cardstock paper like the pink paper used here (purchased at Michaels) or you can even buy old-timey, vintage parchment paper for a different feel (Amazon has a good selection).
Third Step: Cover Your Books
The last step is covering your books. Once you’ve chosen your paper you will choose what books to cover. Most importantly, make sure to choose books that fit within the parameters of the paper you will be printing. Most printer paper is 8.5 x 11 so you will need to choose hardback books (NOT PAPERBACKS!) a similar size so that the spine and as much of the front and back covers are fully covered. This means you may not be covering the real set of books the cover depicts but may need to use different books under the covers. If you don’t own any books this size, a great place to go is Half Price Books or the Amazon used books links to pick up used hardcovers for super cheap. It won’t matter what they are because you will be covering them.
Once you have printed your covers out on your pretty new paper, take off the current book covers and replace with your own. You can tape or glue the edges if they don’t hold by themselves. Don’t worry if your book isn’t fully covered. You will be stacking these on a shelf so no one will even notice. Promise!

For more bookish DIY ideas make sure to check out DYI: Vintage + Lace-up Harry Potter Tees. Which book covers will you be making? Share them in the comments below and tag @RektokRoss on Instagram when posting!

