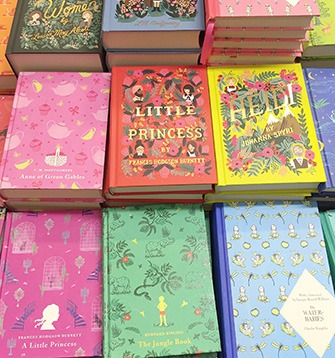
Looking to up your bookish Easter eggs game? Read on below for some great tips on how to create awesome Easter eggs for book lovers. These tips can be used to create eggs to celebrate your favorite books (think “Harry Potter”) or movies (I picked “Frozen”!) or even as inspiration for writing and reading. The best part? You can also use the tips below for other decoration projects or even to create (gasp!) non-literary eggs.
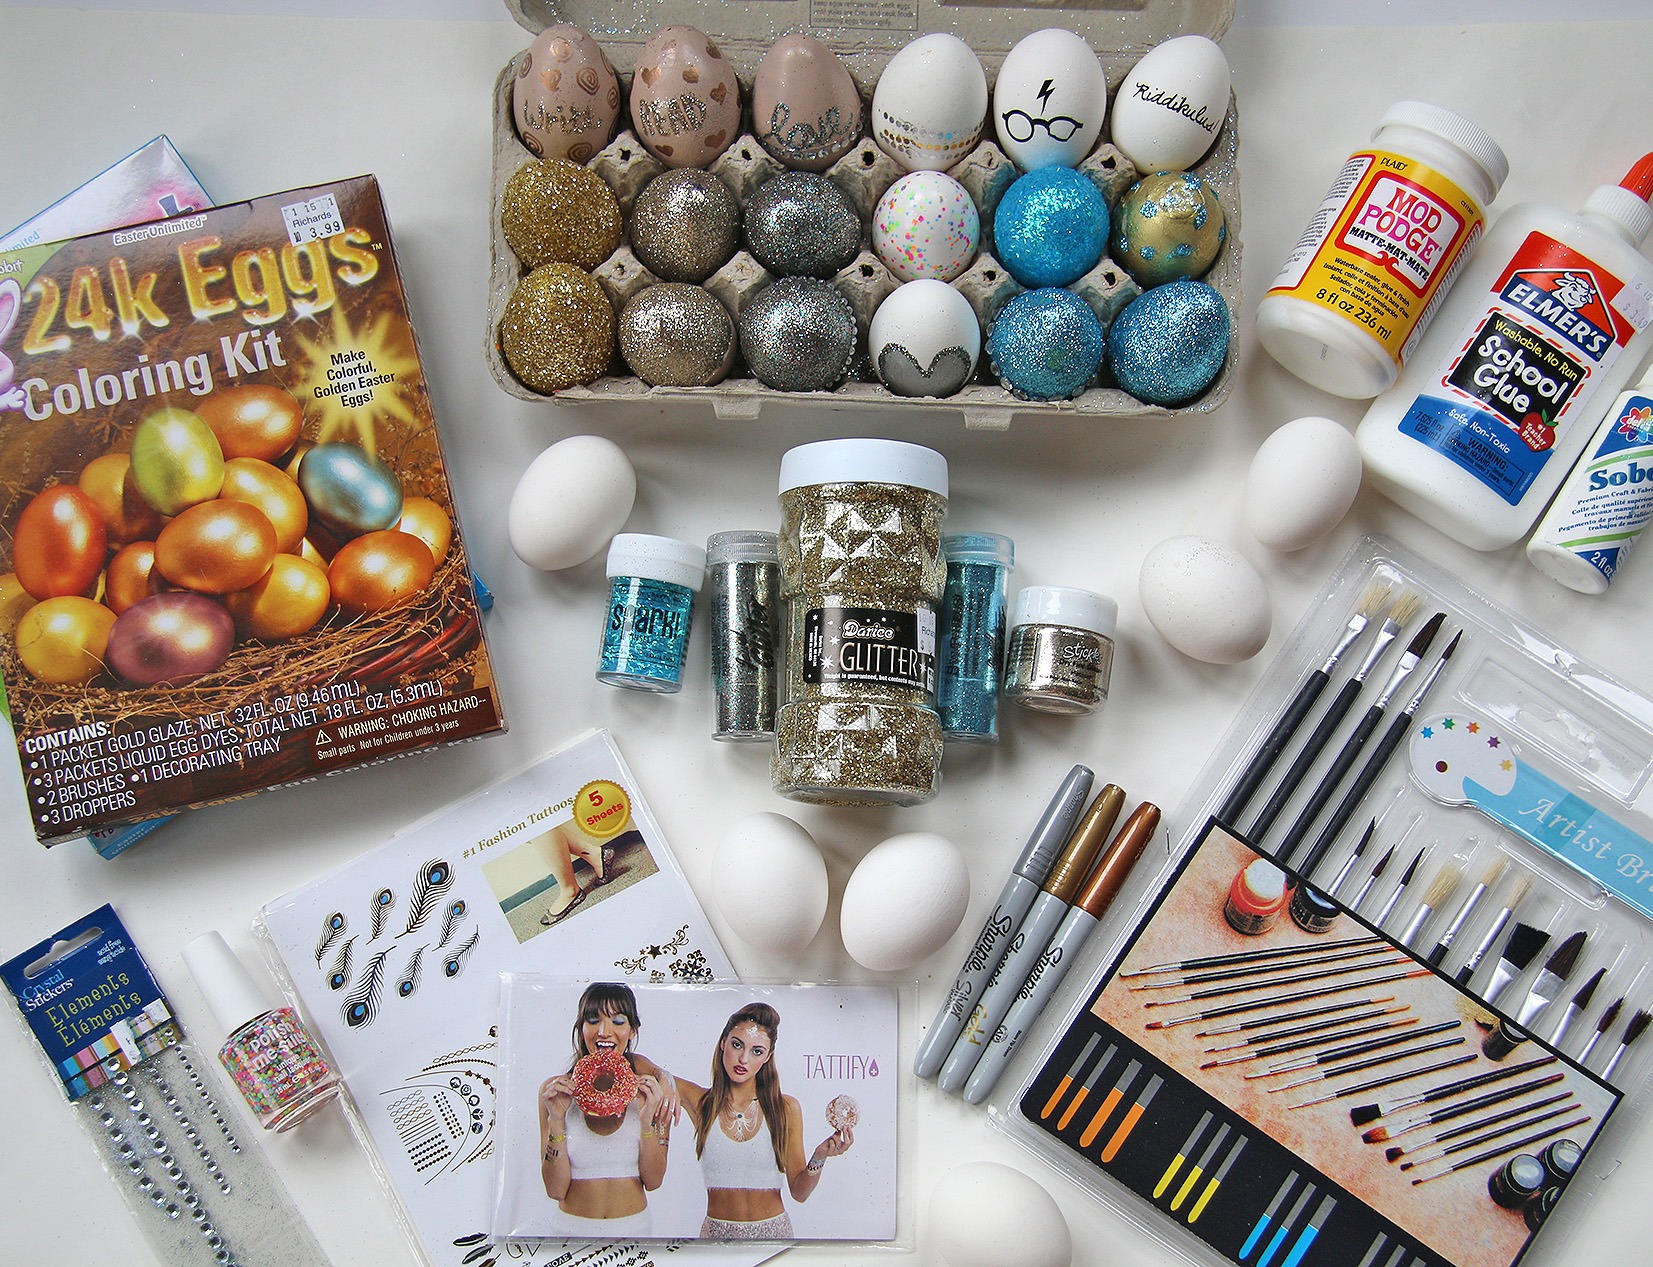
Here’s what you’ll need:
1. Straws, push pins/thumb tacks, toothpicks, newspaper, scotch tape to blow out the eggs
2. eggs (real and/or plastic)
3. glitter
4. glue and/or Mod Podge
5. paintbrushes
6. spray paint
7. metallic colored Sharpie markers
8. temporary tattoos
9. confetti or glitter nail polish
10. rhinestone stickers
11. egg dye coloring kit
Step One: Prepare the eggs
First, figure out if you want to eat your eggs, save them for years, or just make quick (but expiring) decorations. If you want to eat your eggs, then you will want to go with the traditional hardboil + egg coloring kit method. Just follow the instructions on the box of egg dye. If you want to save your eggs for long term, then you will want to either blow out the yolk on real eggs or you can pick up cheap plastic eggs — don’t worry, you’ll be covering them in the next step so any kind are fine. For blowing out your real eggs, I followed the directions here. If you just want to do things the easiest (and most temporary) way possible you can just use the eggs raw!
Step Two: Choose your background
If you are dyeing your hardboiled eggs, just follow the directions on the box to pick your egg background color.
Another method I used on some eggs was to spray paint. It can be a little messy and time-consuming (I suggest doing half the egg, letting it dry for a few hours, and then doing the other half) but it leaves a pretty finish. I picked metallic gold and a blush color but you can do any colors you like.
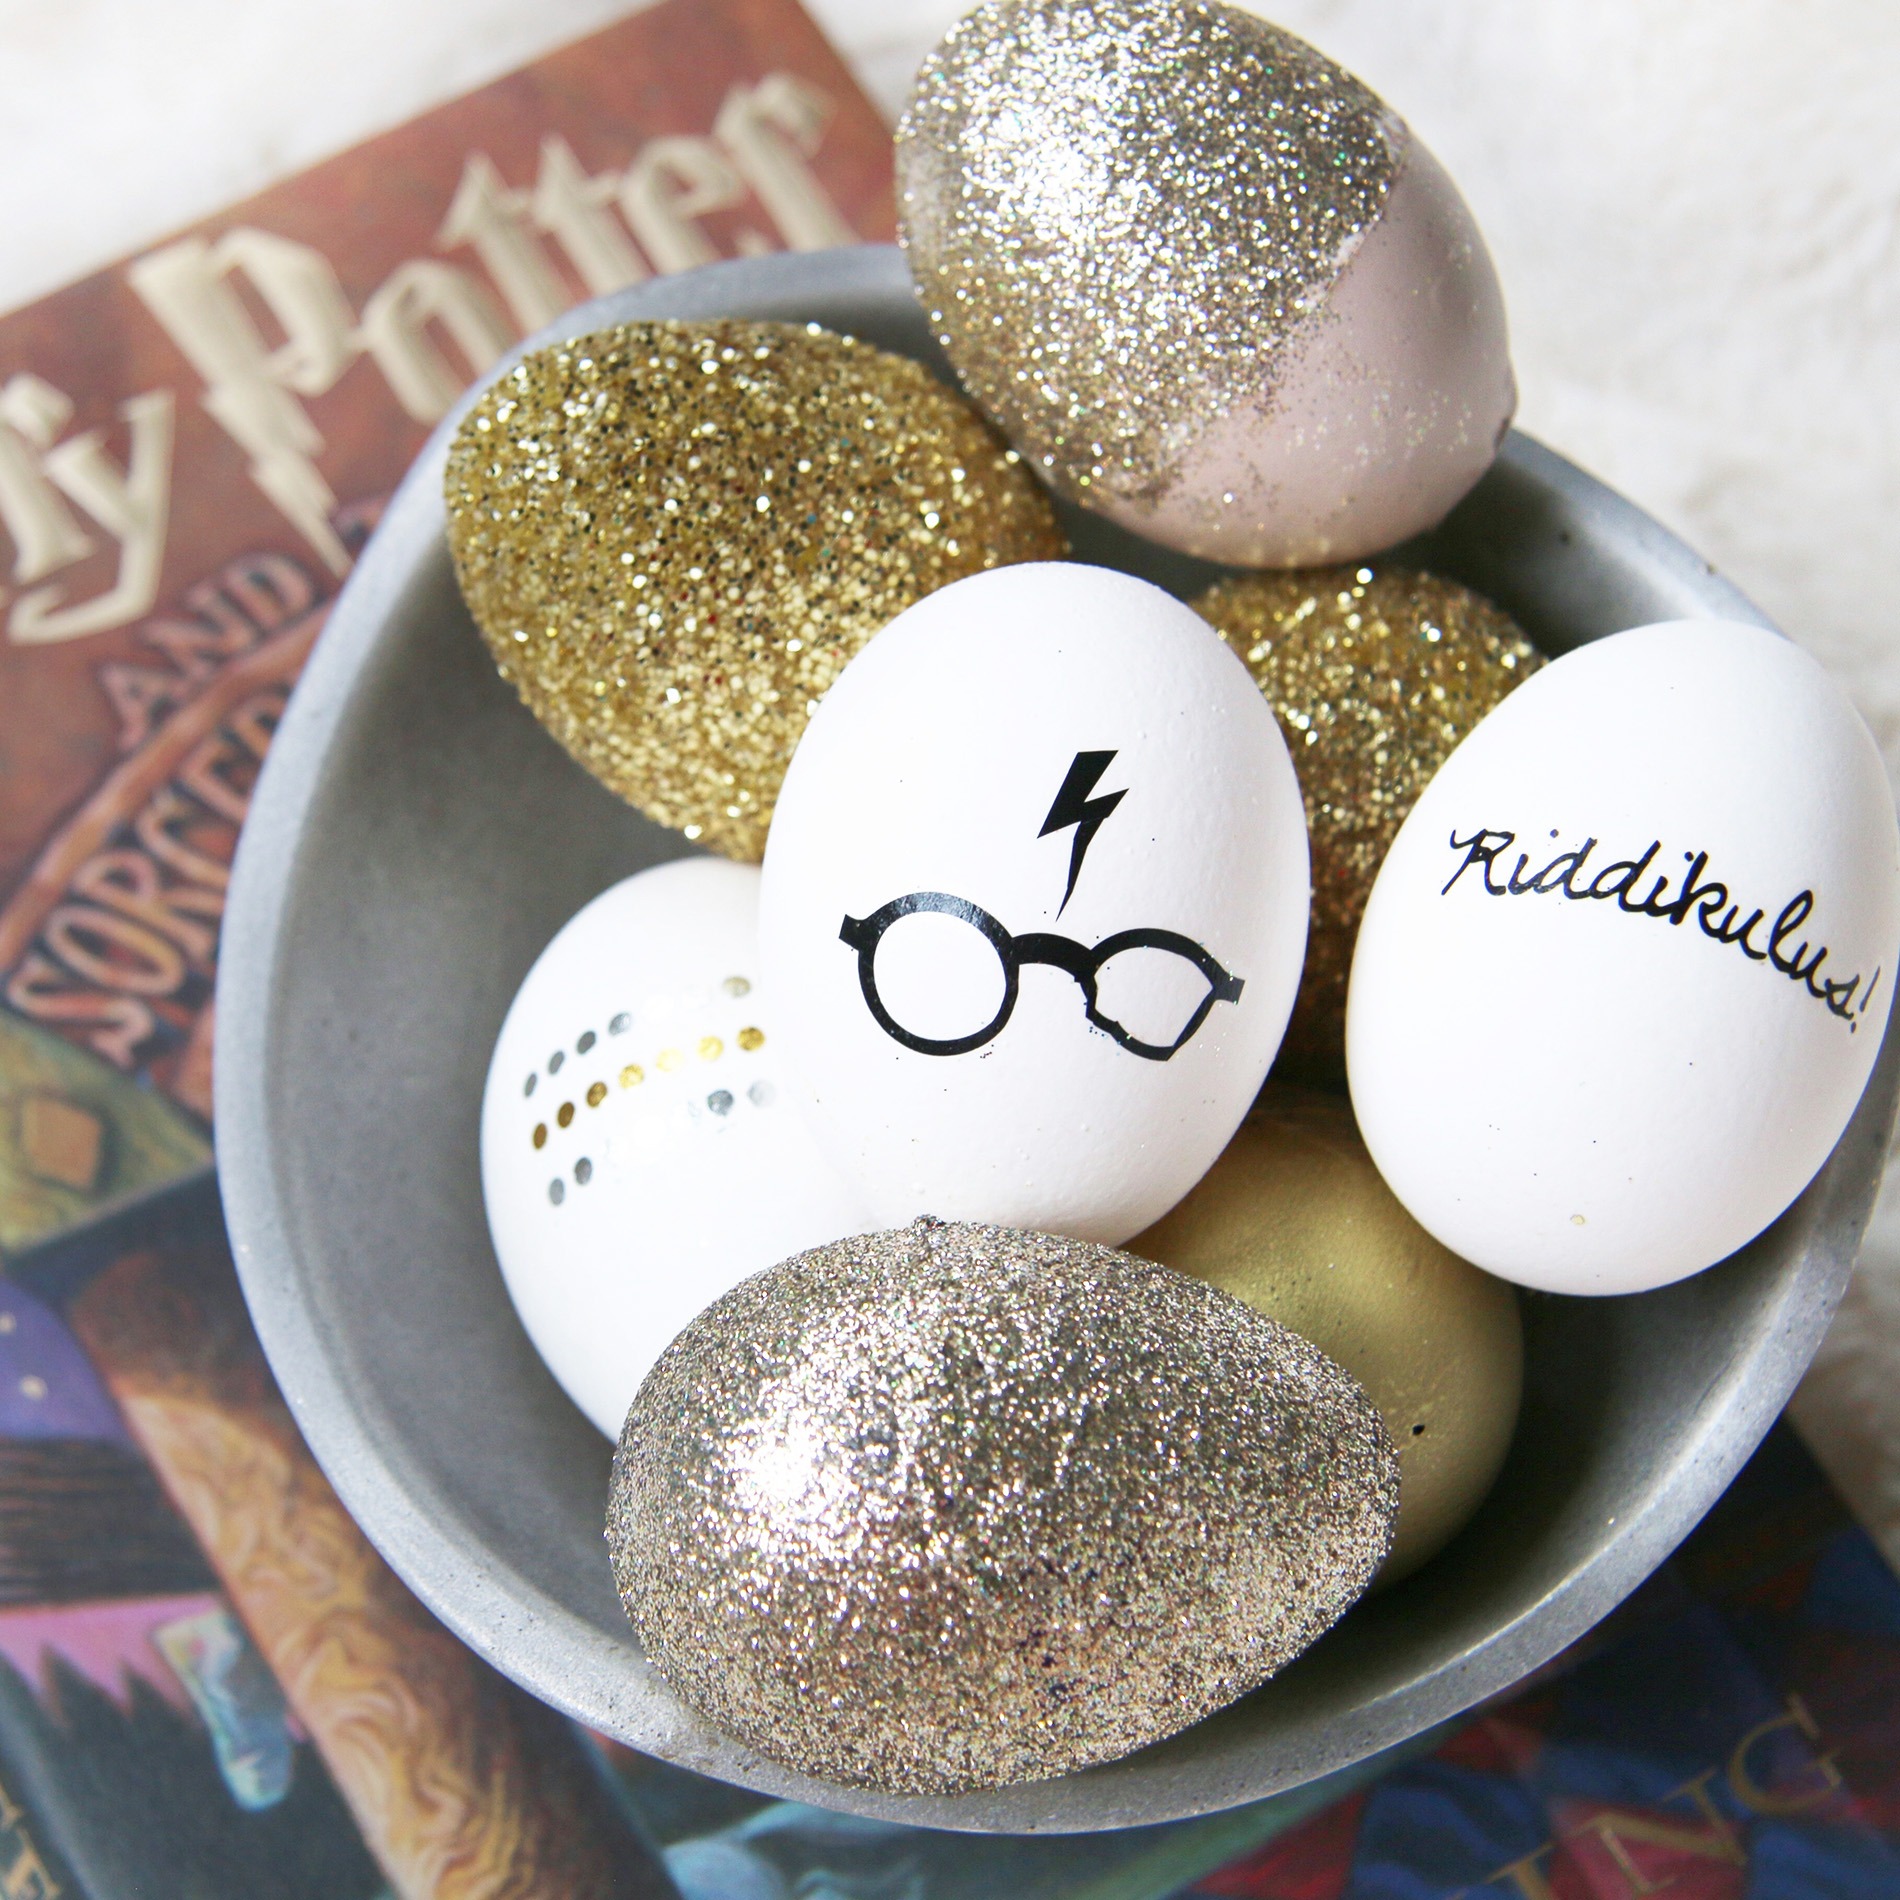
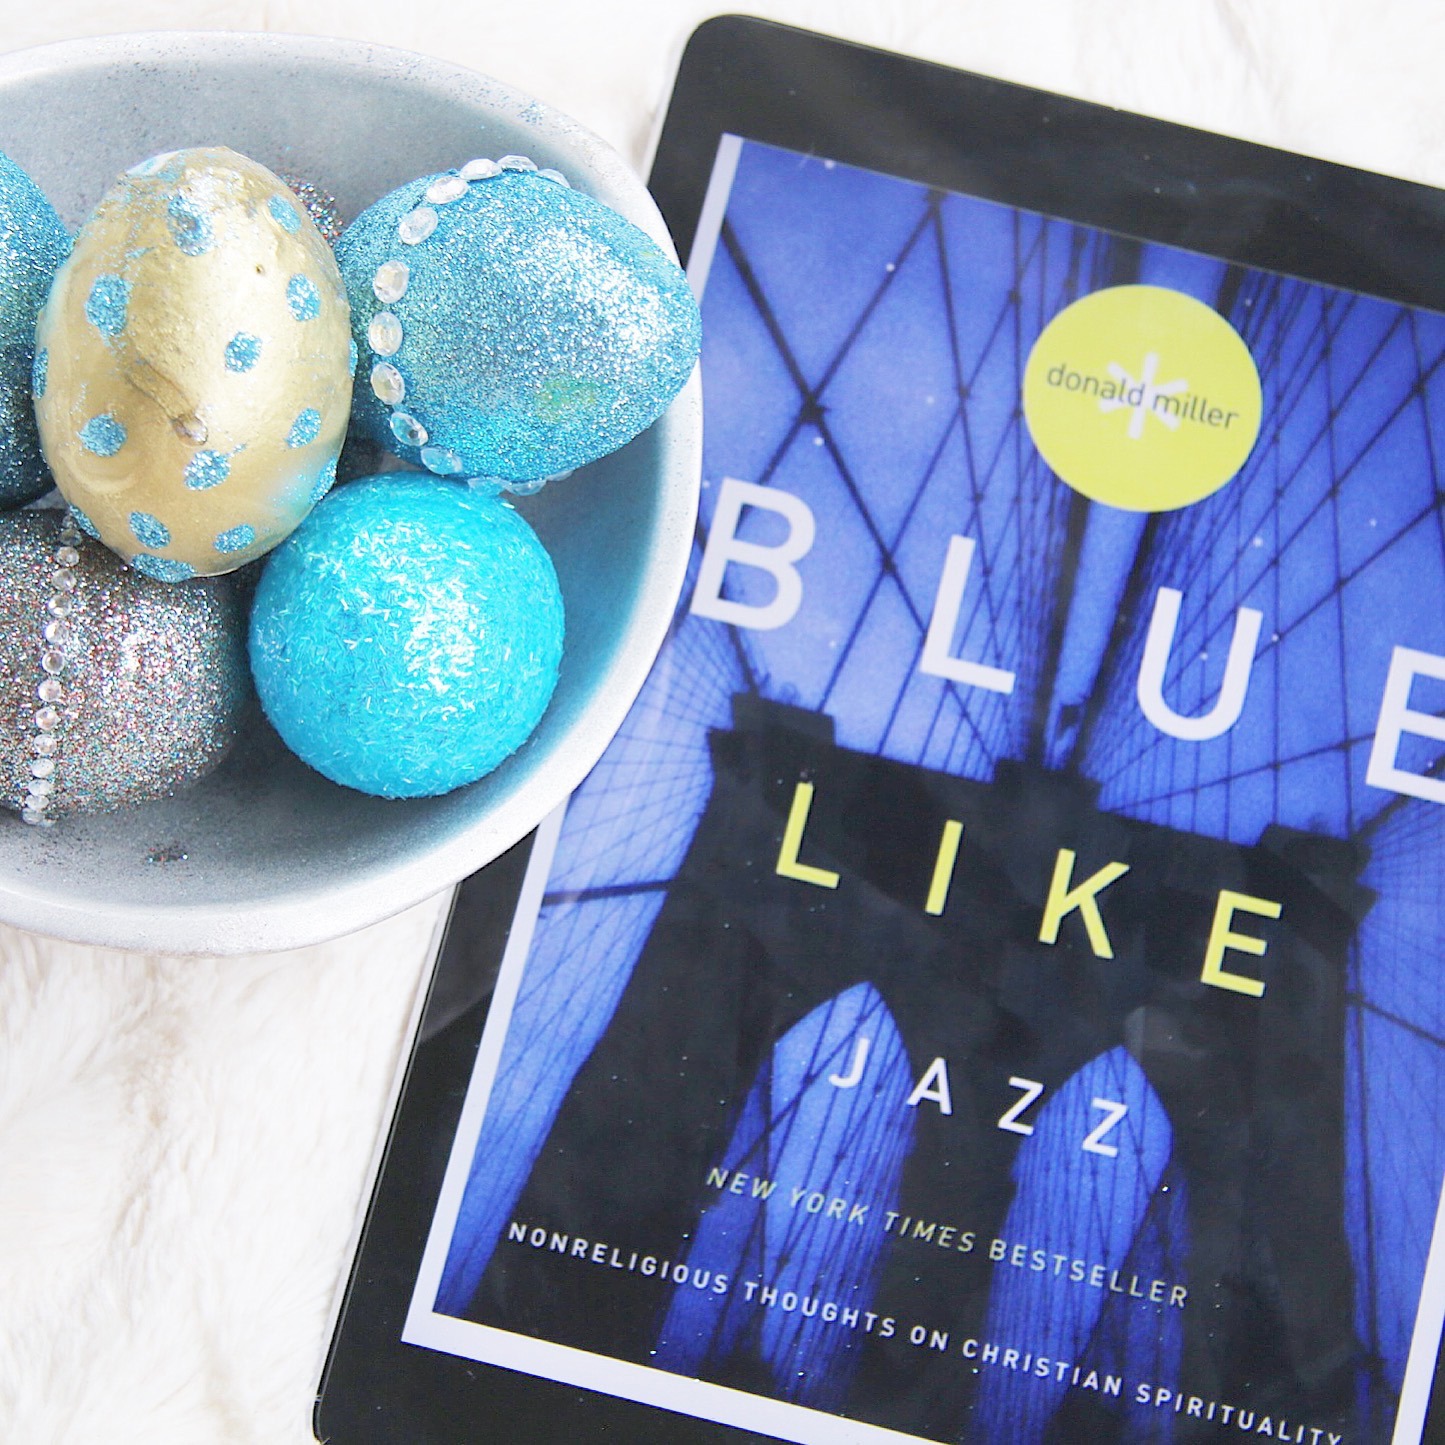
I chose all glitter as the background for my plastic eggs. This was super easy and foolproof — all you do is cover the egg with Mod Podge on one half and sprinkle glitter on top and wait for it to dry (about 15-20 minutes) and then do the other side.
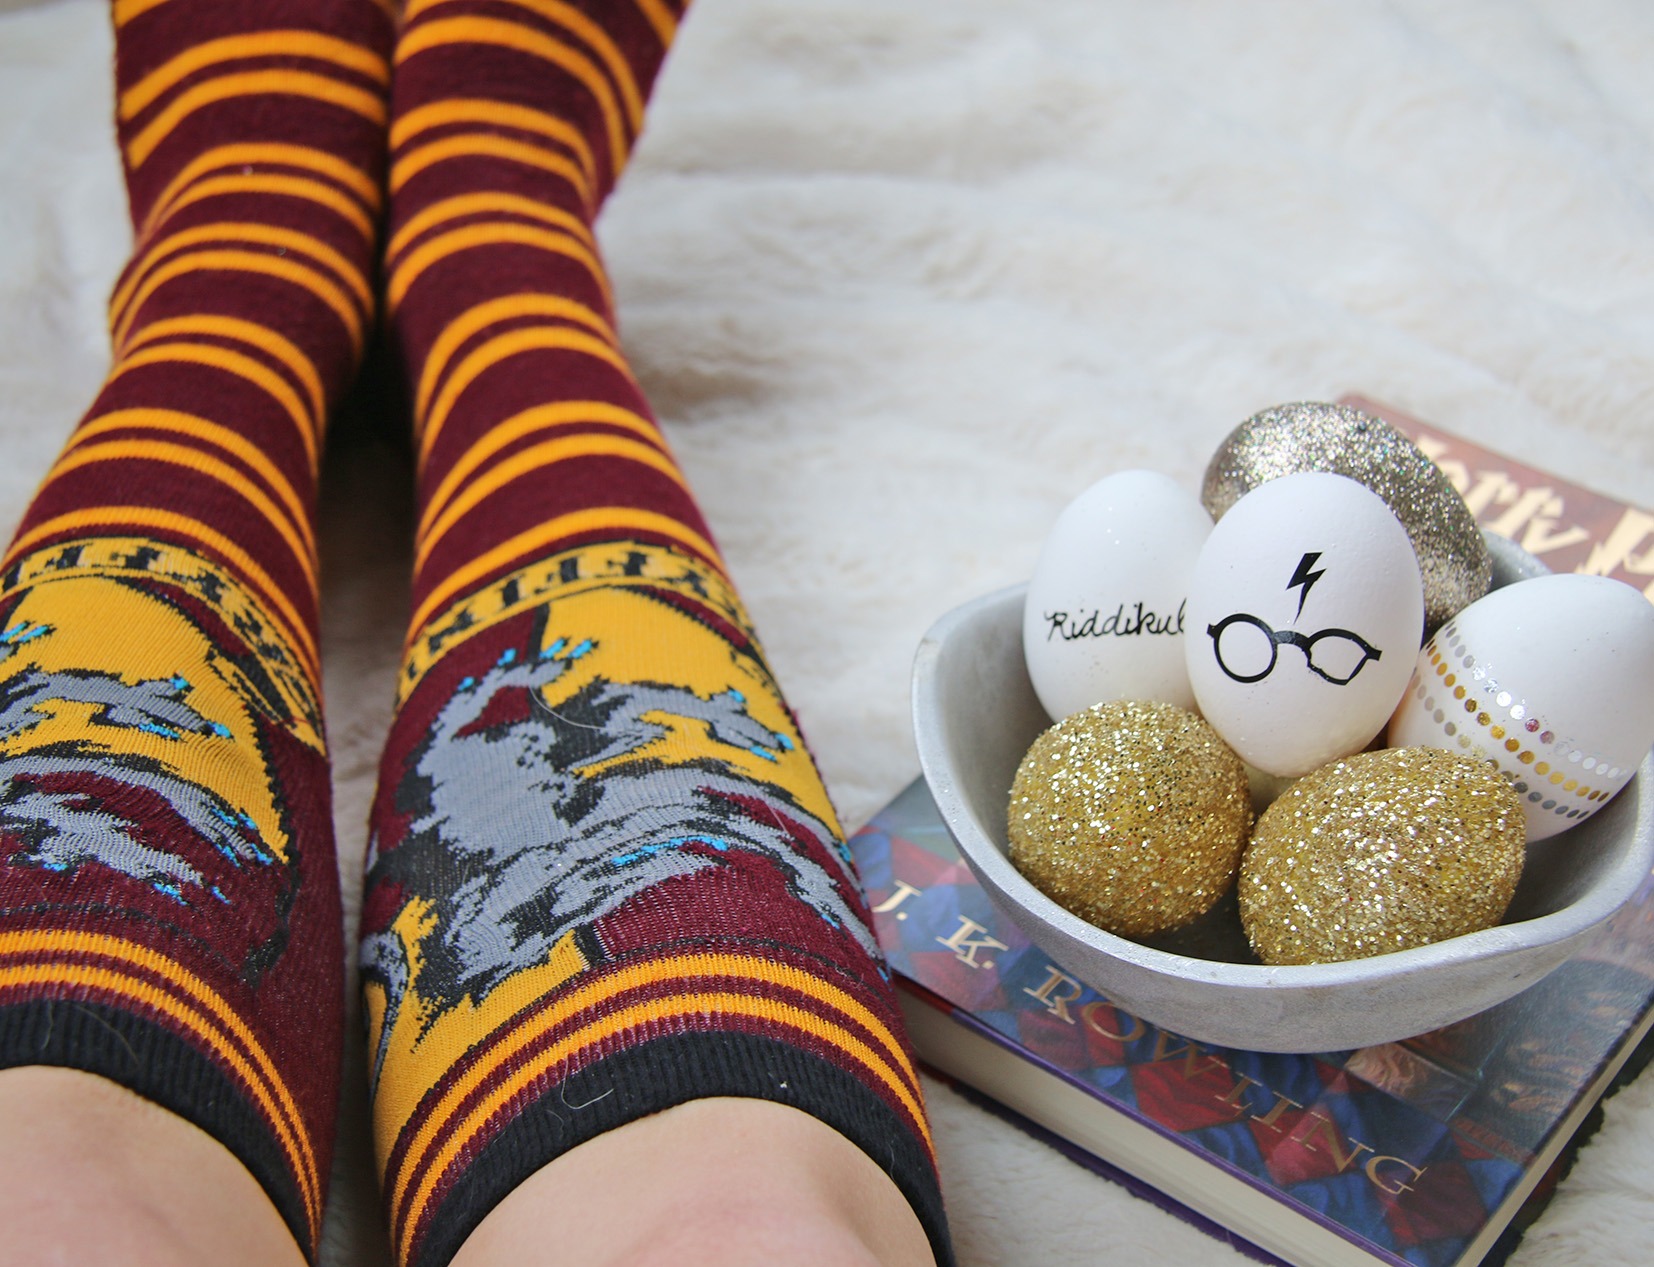
Finally, for my “Harry Potter” eggs, I just left the egg raw & white to keep my canvas plain and highlight the tattoos.
Step Three: Choose your design
Okay, here’s where we get creative! I’m going to break down for you each egg style so you can see what I did and pick and choose whatever works for you. My “Harry Potter” eggs were by far the easiest. All you do is pick a tattoo design you like. You can purchase the “Harry Potter” ones I used here and other literature-themed tattoos here. The metallic boho flash tattoos I used are here. Then simply follow the instructions that come with the tattoos and place the tattoos directly on the raw, unpainted eggs. Ta da!
Another way I decorated my eggs was to draw designs on them with metallic Sharpie marker pens and glitter. I did this for my “literary” design Easter eggs. You can just draw directly on the raw or blown-out eggs — super easy! Or if you want to draw designs in glitter, I suggest using the Sharpie marker pens first to draw your design and then going over the pen marks with a tiny, fine-tipped paint brush covered in glue and then shake your glitter over the glue.
Some eggs I accessorized with stickers. You can get these at any craft store but I think rhinestone stickers especially look pretty awesome and that’s what I used for my “Frozen”-themed eggs.
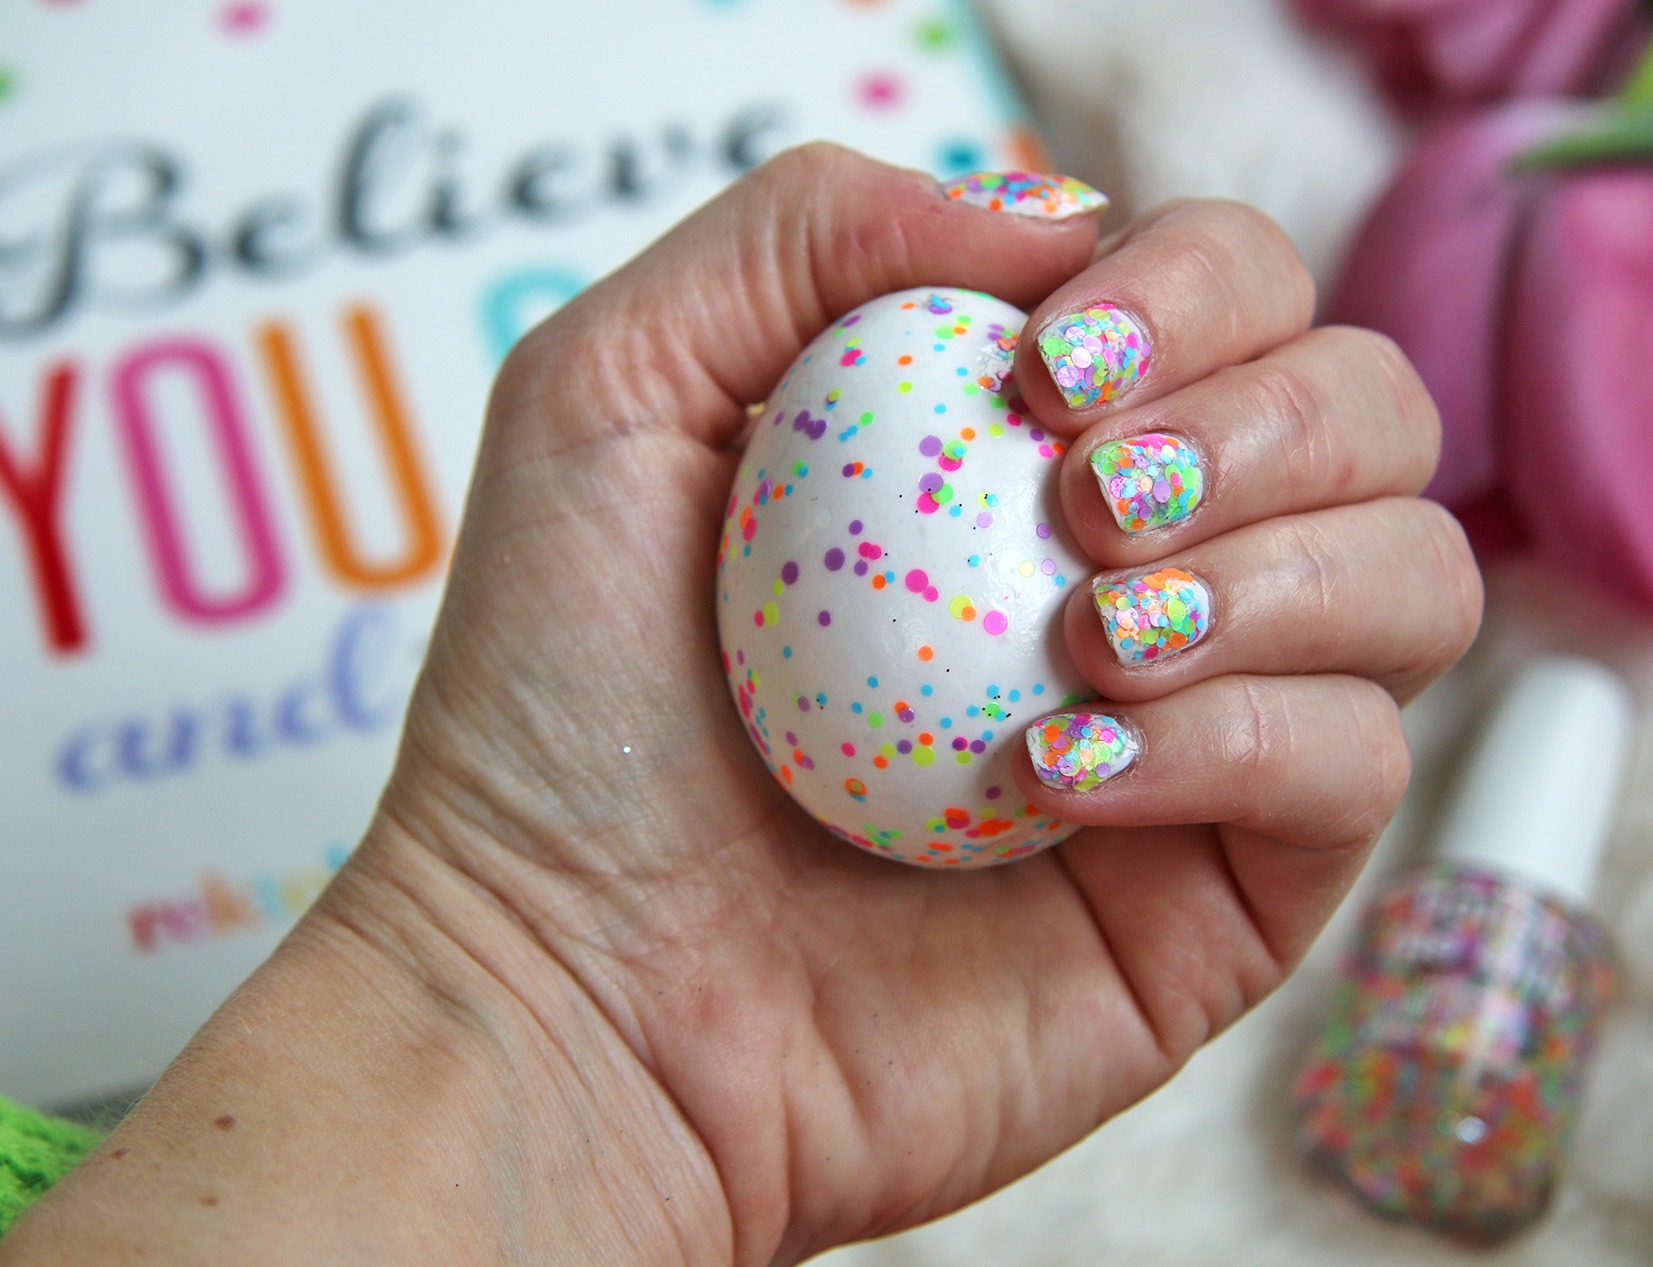
The last thing I tried was using confetti nail polish directly on a raw egg. It worked like magic. Seriously, the easiest thing ever and I think it would be great for all kinds of glittery nail polish, too.
Hope you enjoy making your own bookish easter eggs! Let me know what you think in the COMMENTS below. And for more bookish arts & crafts, check out my post on how to make DIY: Vintage + Lace-Up Harry Potter Tees.

